
This RG Freedom is basically an OOB build with just some really minor painting, panel lining, decaling and topcoating. So after procrastinating for so long I think I'll just post my completed WIP pics of my RG Freedom first... So here they are! :D
Progress on 1st day...
Built the head, torso and legs.

First time trying panel line washing and glad it turned out fine! ^^

Coloured the camera lens blue with some normal permanent marker.


Minor detailing using Gold marker...
Progress on 2nd day...
Build only the 2 sideskirts as i spent this day visiting the hospital... (long story)


Painted the tip of the 'railgun' with my gold marker.

Sanded too much, causing a hole in the tip of the gun, so I cut a piece off the runner and glued it to the piece with my Mr.Cement S! (pic below) So i sanded it down and see if you can figure which is the sanded piece from the pics below! :P

Progress on 3rd day...
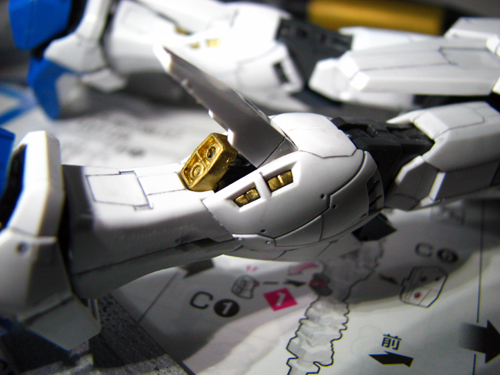
Built the arms...


Again detailed with my Gold Marker.

After struggling with myself for very long, I decided to put on the bronze stickers they provided for the arms.


Forgot to take the picture of this part which i painted as well.
Progress on 4th day...
Built the backpack...


Parts I painted with my Gold Marker...

Main Body fully Assembled! :D

'Wings' fully spread-out


Haven't bought display stand so used crocodile clip as display stand. :P
Progress on 5th Day
Built the weapons...
Did some minor detailing with the gun with some silver paint and my ever handy Golden Marker :)

(Before touch-up)

(After Touch-up)

Gun fully assembled


Hehe tried adding gold to the beam sabers and it turned out pretty nicely :)
Progress on 6th day...
Topcoated with future to prepare for waterslides! :D


For some reason, (I think its my noob arbrush) the future landed as large droplets and it looks like the above pic even after curing overnight... Sprayed a 2nd layer and it evened up better though.. The reason why I think it is my airbrush is because i tried topcoating with future using my newer airbrush and it turned out fine so...ya.
Currently busy decaling it (2nd day) and hopefully I can post the completed pics by tomorrow if possible so bear with me.
No comments:
Post a Comment